In our final foray into the Midwest, I try to wed some of the Midwest's most quintessential foods together: corn, flour, wild rice and frying (it's not just for the South anymore). I was, at first, at a loss, but Marcia Adams and her Heartland cookbook came to my rescue once more.
Snacking State-by-State Redux V of X: The Midwestern and Prairie States
What are the Midwestern States?: always includes: Missouri, the Great Lakes States (Ohio, Indiana, Illinois, Michigan, Wisconsin, Minnesota) and the Prairie States (Iowa, North Dakota, South Dakota, Nebraska, Kansas); sometimes includes: Oklahoma, West Virginia and (western) Pennsylvania. Important Cities: Chicago, Cincinnati, Cleveland, Columbus, Des Moines, Detroit, Fargo, Indianapolis, Kansas City, Milwaukee, Minneapolis, Omaha, Pierre, Pittsburgh, St. Louis, Topeka, Tulsa Regions and Subregions: The Great Lakes; The Prairie States RAFT Nations: bison (most of North & South Dakota, Nebraska, Kansas, Oklahoma, Iowa, northern Missouri, southern Minnestoa, southern Manitoba), chestnut (parts of southern Ohio, West Virginia), corn bread & BBQ (Missouri, Illinois, southern Indiana, parts of southern Ohio & eastern Iowa), maple syrup (Ohio, western Pennsylvania, northern Indiana & West Virginia), pinyon nut (western South Dakota, Nebraska), wild rice (Michigan, southern Ontario, eastern North Dakota, southern Manitoba, northern Minnesota, Wisconsin, northern Illinois & Indiana, parts of northern Ohio & Pennsylvania) Foods the Region is Best Known For: hearty "heartland" fare; pioneer and Native American dishes; Eastern European, Scandinavian, Southern European, German and Amish fare; sauerkraut; corn, wheat, soy, beef; BBQ (Missouri) & chili (Ohio)
For the Midwest, I wanted to find a recipe that could encompass as much of this vast region as possible. Midwestern foods that pop in my mind after the last two years of this project include corn, wheat and wild rice. I found the perfect recipe early on in Heartland: a dessert corn fritter, eaten with powdered sugar and maple syrup (in the Illinois section of her cookbook, page 14). Her cakey and light "Bishop Hill Corn Fritters" are named for the small utopian community in northwestern Illinois:
The Bishop Hill Colony, a communal Utopian community close to Galesburg, began disintegrating in 1861, when the colonists started dividing up the common property into individual holdings. The town declined but is now in the process of being restored by its 166 citizens, mostly descendents [sic] of the original settlers. [Adams 1991: 14]
Of course, I did not follow Adams' recipe to a tee. I threw in some wild rice just for variety
The Recipe: Bishop Hill (Illinois) Corn Fritters, with Wild Rice
To make these fritters, exact measurements on page 14 of Heartland, assemble these ingredients, most of which you probably have on hand:
* corn (the original recipe does call for canned corn, though frozen or fresh can be substituted. This organic can from Wegman's was really not too much more expensive than a regular one, so I bought this one instead)
* flour (had it)
* sugar (same)
* baking powder (yup)
* butter (uh huh)
* salt and pepper (that too)
* eggs (same)
* equal amounts of milk (just a quart for about $1ish) and water
* oil (for frying - I used a combination of peanut oil and rice bran oil)
* wild rice (this I had on hand; leave it out if you don't have it. I added about 1/2 cup)
* maple syrup and powdered sugar (had both)
Boil some wild rice according to package directions.
While that's going, beat some eggs. That's one of those old-fashioned egg beaters. Bet you haven't seen one of those things in a while, have you?
Add your water, butter and milk...
And stir in the corn. Make sure you've drained the corn.
Add the dry ingredients and wild rice, and stir enough to moisten.
Heat your oil to deep frying temperature (about 350°F to 375°F) and drop in your fritters in spoonfuls, and fry about two to three minutes a side.
Drain on paper towels, and sprinkle with powdered sugar. Serve hot with maple syrup. Reheat in the oven if you need to. It's just not the same in the microwave.
Adams meant it when she said "delicate and cakelike" [1991: 14]. These things are just absolutely luscious. Plus, I felt guilty eating them. Come on: fried fritters doused in powdered sugar and maple syrup? Who wouldn't feel guilty eating this?
- - - - -
The next region we will visit is the South. First, we take a detour into African-American cuisine, an integral part of the Southern food landscape, by looking at one historic, home grown recipe from George Washington Carver himself.
My final Midwestern post takes us back to a food savored at millions of cookouts and tailgates all across America. Mind you, Ohio fights for the glory, but Wisconsin insists on brushing them aside in the war of the bratwursts. Perhaps but one can claim the mantle.
Official Name: State of Wisconsin State Nickname: The Badger State Admission to the US: May 29, 1848 (30th) Capital: Madison (2nd largest) Other Important Cities: Milwaukee (largest), Green Bay (3rd largest), Kenosha (4th largest), Racine (5th largest) Region: Midwest, Upper Midwest, Great Lakes; East North Central (US Census) RAFT Nations: Wild Rice Bordered by: Minnesota (west); Lake Superior (northwest); Michigan (upper panhandle) (northeast); Lake Michigan (east); Illinois (south); Iowa (southwest) Official State Foods and Edible Things: badger (animal, though these aren't typically eaten anymore); corn (grain); dairy cow (domesticated animal); honeybee (insect, for the honey); milk (beverage); muskellunge, or "muskie" (fish); sugar maple (tree, for the maple sap); white-tailed deer (wildlife animal) Some Famous and Typical Foods: typical Midwestern cuisine; German, Central European and Scandinavian foods; dairy, especially cheese and fried cheese curds; Wisconsin-style fish boil (usually done on a massive scale for many people); beer brats (bratwurst cooked in beer and grilled, usually on a "Sheboygan roll", a typical bratwurst roll from the Midwest); beer, beer and more beer
For those of you who have been following this blog, or at least this series, I have already explored bratwurst. Twice! Both times were when I was exploring Ohio. One was a simple pan-boiled brat, the other used bratwurst to make delicious fried balls of sauerkraut, Cleveland-style. And yet, Sheboygan, Wisconsin, still claims to be the "Bratwurst Capital of the World". I've already described bratwursts in the aforementioned posts, and that does include their tie to Wisconsin's identity. They go together about as much as Wisconsin and cheese, or beer. In fact, this Cheesehead trinity is so important that the very conservative Republican governor of Wisconsin Scott Walker invited angry Democrats to the Governor's Mansion after his recall attempt earlier this year and tried to smooth things over with beer, cheese and - of course - brats (Fulton 2012). These people love their brats as much as some others in this country love their fish fries, clam bakes and steamed crab feasts.
Now while my friend Eric pointed out to me that people sometimes cook brats in a pan with water or beer, in the Upper Midwest they don't seem to prefer that method, if my research does not deceive me. The folks at the Bratwurst Pages (2005), based in Wisconsin, have a whole collection of Bratwurst-related links, including the procedure for fixing brats the typical, correct way. Of course, you need to grill it, and of course, I have no grill handy at the moment. Fortunately Jonathan Croswell (2011) helps out on that score in his Livestrong.com article about how to cook brats in the oven when there is no grill available - long story short, broil 'em, setting them about five to seven inches away from the broiler. I set mine as far away as I could.
The Bratwurst Pages people point out that a bratwurst is correctly eaten with various fixin's, from kraut to ketchup to mustard - but they are very specific to note that yellow mustard is an abomination. Spicy brown mustard, however, works well. Also note: you are not supposed to use hot dog rolls for these things. They mention something called a "Sheboygan roll", a malty roll that is somewhat crisp on the outside and soft on the inside commonly found around the Bratwurst Capital of the World, but not at all found in my part of the country. Trying to be un-abominable as possible, I eventually sought out non-baked club rolls from Harris Teeter, and baked them myself while the brats were cooking. If you actually want to make some of these rolls, get thee to a homebrewing store (not like I hadn't gone recently) because you will need some malt extract. I didn't feel like buying a whole container just for a roll I didn't have time to make anyway - malt extract ain't cheap - which led me to buy the club rolls.
The Recipe: Classic Wisconsin Beer Brats
To keep these as authentic as humanly possible, since we're not using the outdoor grill, assemble the following:
* bratwurst (Johnsonville, out of Sheboygan Falls, are a no-brainer for this Wisconsin-esque recipe. Only $4 at Harris Teeter)
* onion (small to medium yellow one, had it)
* butter (had this too)
* beer (now I have tons of beer at home, but the beer I made in the last post was still in the fermenting process (as you can see in the picture above, the decanter is still sitting underneath my kitchen table), so instead I sought out a few bottles of Leinenkugel, based out of Chippewa Falls. I still didn't have enough, so I used an extra bottle of Rolling Rock I had sitting in my pantry to top it off)
* club rolls (as noted above, do not use hot dog rolls. Find Sheboygan rolls if you have them, but if you're outside of the Midwest you likely will not find them. These unbaked club rolls cost about $3 at Harris Teeter)
Prepare your beer bath (ooooh, fun) by boiling together your beer and onions. Some authentic recipes do not do this step, but others do and since I'm not grilling these outside I wanted to go this extra step. I reserved half my beer and onion for this step, because the brats will sit in a beet-butter-onion bath after grilling as well.
If you go this route, boil your brats in the beer for about twenty minutes. If you do not do this step, prepare the beer bath for the brats to sit in after grilling them. You need to do that step regardless.
When they start looking like this (yes you should turn them), remove them and get ready to either grill them or...
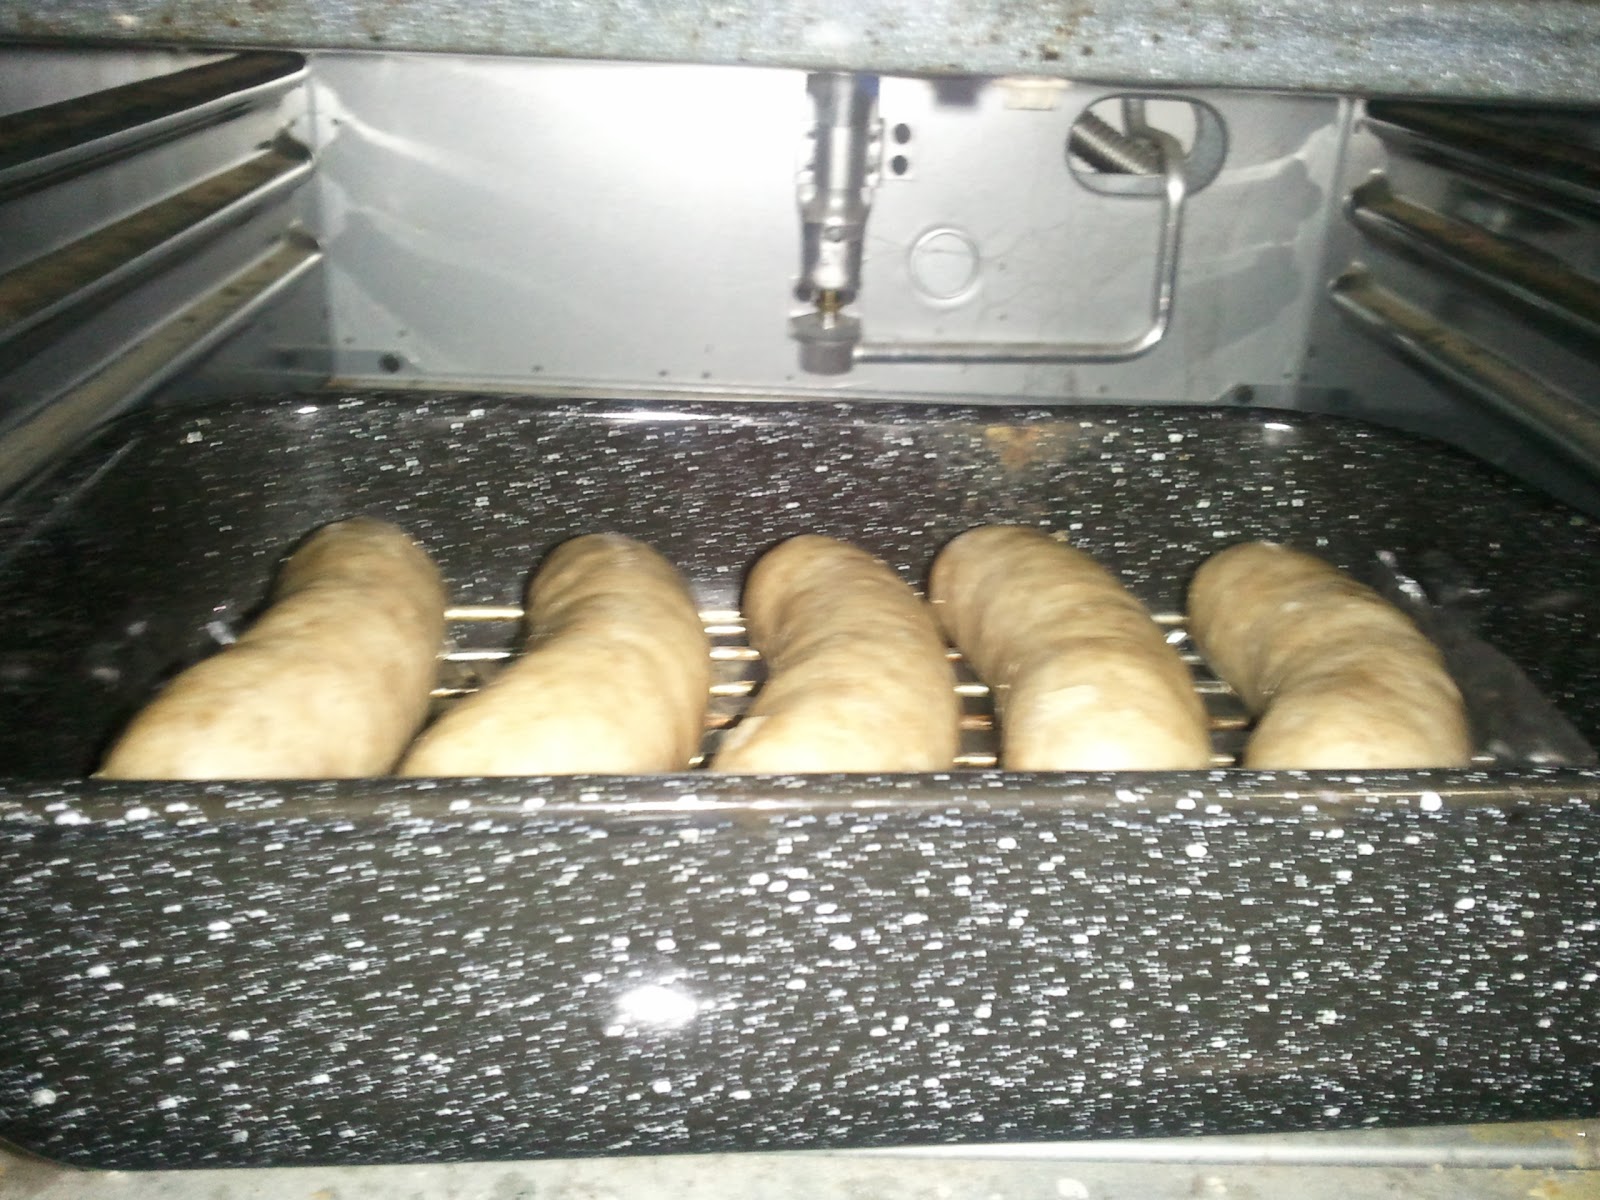
...place them under your preheated broiler. If you can't grill for some reason you will want to set your broiler pan as far away from the flame as possible (five to seven inches is optimal). Leave them there for about 10 minutes, with no pre-boiling, leave them there longer. If grilling, leave them on for about 20 to 25. You really have to guesstimate here.
While those brats are a-broilin', prep your second beer bath.
Add the rest of your chopped onion to the beer bath.
And then add your butter.
Melt everything together, and let your brats simmer in this liquid until ready to eat. For this part, you really do leave them in there indefinitely, based on the recipe I saw.
Finally, bake your club rolls, or use pre-baked ones. If you have bratwurst rolls, use those instead.
And now you're ready to build your bratwurst.
Typically, you put ketchup, sauerkraut, chopped onions and non-yellow mustard on your brat.
I used some of the chopped onions from the beer and butter bath, whole seed brown mustard and ketchup.
I can't say much about this. It was a bratwurst. It was juicy and delicious would have been a little messy were it not for the massive roll sopping up the juices and toppings. I'm not used to bathing it in beer and butter of course, but I may use this method again when I do brats.
- - - - -
What a strange milestone: we are but one state away from the end of this long, loooooong series! Or are we? Once we're finished with Wyoming, our final destination, I will be making the rounds briefly just to re-explore the different regions of the country to see if I missed anything. This I will be doing in ten - yes, ten - posts. Then this State-by-State thing will truly be finished. But I'm getting ahead of myself. On to Big Sky Country!
Splendid Table. "Episode 487: The Japanese Grill", July 30, 2011, Segment 21:46 – 28:35 (William Bostwick talks home brewing). Copyright 2011, 2012 American Public Media, All rights reserved.
Wisconsin Milk Marketing Board. "Cookin' Up Wisconsin Curds". Wisconsin Milk Marketing Board, 2012. Copyright 2012, All rights reserved. Wisconsin Milk Marketing Board. "History of Wisconsin Cheese". Wisconsin Milk Marketing Board, 2012. Copyright 2012, All rights reserved. Some information also obtained from Wikipedia's "Wisconsin" page and other pages, and the Food Timeline State Foods link to "Wisconsin".
According to the Beer Institute [2012], Wisconsin was the nation's sixth largest per capita consumer of beer in the United States, and third in the Midwest (after North and South Dakota). But anyone who grew up with that classic Laverne & Shirley opening theme song will forever associate beer with Milwaukee. Not to mention anyone who's drunk a Pabst Blue Ribbon, Schlitz and Blatz, or any of the many other beers made in the Badger State. But L&S took place well before the microbrew craze that has, thankfully, been sweeping the nation for the last several years. And well before the wide wonderful hobby of homebrewing.
Yes folks, I'm going there.
Official Name: State of Wisconsin State Nickname: The Badger State Admission to the US: May 29, 1848 (30th) Capital: Madison (2nd largest) Other Important Cities: Milwaukee (largest), Green Bay (3rd largest), Kenosha (4th largest), Racine (5th largest) Region: Midwest, Upper Midwest, Great Lakes; East North Central (US Census) RAFT Nations: Wild Rice Bordered by: Minnesota (west); Lake Superior (northwest); Michigan (upper panhandle) (northeast); Lake Michigan (east); Illinois (south); Iowa (southwest) Official State Foods and Edible Things: badger (animal, though these aren't typically eaten anymore); corn (grain); dairy cow (domesticated animal); honeybee (insect, for the honey); milk (beverage); muskellunge, or "muskie" (fish); sugar maple (tree, for the maple sap); white-tailed deer (wildlife animal) Some Famous and Typical Foods: typical Midwestern cuisine; German, Central European and Scandinavian foods; dairy, especially cheese and fried cheese curds; Wisconsin-style fish boil (usually done on a massive scale for many people); beer brats (bratwurst cooked in beer and grilled, usually on a "Sheboygan roll", a typical bratwurst roll from Midwest); beer, beer and more beer
Last Christmas my mother and sister got me something I hadn't expected or asked for. Mind you, I never ask for anything to begin with, but wouldn't you know it? They went and got me something anyway. They got something they thought I would enjoy: a homebrewing kit. The brand was Mr. Beer, just about the easiest introduction into homebrewing that a potential homebrewer could ever hope for! Mind you, it's often derided by more experienced homebrewers, but a guy's gotta start somewhere.
Of course, being the science-minded guy that I am, I had to over-complicate things, instead of just following the instructions that came with the kit.
But I'm getting ahead of myself. Let's rewind back to when I first started planning to make my own beer. I was first inspired last year, before I had fortuitously been gifted this Mr. Beer thing, when I caught William Bostwick on an episode of NPR's Splendid Table discussing his book Beer Craft: A Simple Guide to Making Great Beer[2011], which he co-authored with Jessi Rymill. Bostwick discussed the art of homebrewing - both on the radio and in the book - in such a way that it seemed fairly simple to have your own beer in four short weeks. Listen for yourself: the audio of the interview is embedded below:
The Mr. Beer for Christmas was pretty much the catalyst to get the ball rolling. Just one problem: no time to do this! Demands of a new job plus the other recipes I was making for this State by State series meant that I needed to put this off for a while. When I started planning the Wisconsin posts, it made sense to finally bust out the Mr. Beer kit.
Please note that Mr. Beer is the simplest, but by no means the only beer making kit out there. The good folks at the Maryland Homebrew store in Columbia told me about the Brewer's Best beer making kit, which I may need to upgrade to once I'm ready to tackle something a bit more complicated (for example, dry hopping - or adding hops after the boiling process, typically to add extra hop flavor flavor and aroma - was something I was interested in trying out but was not recommended for the Mr. Beer).
I could lay out the basic method for making your own beer, but others do that much more extensively - look it up on Youtube, or again, Bostwick and Rymill, who tell you how to do it with a minimum of equipment in a very small kitchen. And they sure make it sound easy. To wit:
Water and grain, mixed with some sort of spice, and fermented by yeast: That's all beer is. Of course, the choice of grains, spices (hops, mostly), yeast, and, yes, even water, make all the difference - but we'll get to that later. [Bostwick and Rymill 2011:27]
The authors make their own brew from scratch, using natural grains instead of extracts from a can. But the very essence of Mr. Beer is "stuff from a can". Still, it was good to use it for two reasons: one, it made homebrewing much less intimidating; and two, it was there.
Nevertheless, I did want to zhuzh up the can of "Pale Ale" Extract that came in my Mr. Beer kit, which was accompanied by the following supplies:
* a two gallon fermenter (actually kind of a good thing, since I have no room for five gallons of beer in my fridge - the standard size batch for much home brewing) with a spigot you screw in yourself
* eight 1 qt plastic bottles with bottle caps (note to self: continue saving brown beer bottles as you empty them)
* packets of beer making yeast and sanitizing powder (this last part is essential, not so much for cleanliness' sake but to keep any foreign organisms from tainting the flavor of your beer).
Basically, it is pretty easy to make your own beer with Mr. Beer and his extracts. I watched this video put out by Drew Vics at Cryptobrewology.com [2010] a few times to get it down - I'm the kind of person that learns by watching and doing, not simply by reading:
It was not Drew's intent to help me faincy up my extract with a few adjuncts. For that I had to seek out other sources of instruction, namely the Basic Brewing channel on Youtube with James Spencer and Steve Wilkes [2012]. They take a Mr. Beer kit and add a few things to it to really make it their own.
I figured on adding two things: extra hops, because I really like the hoppy beers; and something specifically Wisconsinian, considering the theme of this post. Since Wisconsin is wild rice territory, I decided to try adding some wild rice to the mix, just to see what would happen. To give me some idea of how I might go about doing this, I looked at this article by Dennis and Joe Fisher from Brew Your Own magazine [2000] about brewing with wild rice. Their suggestion: boil down the wild rice for about 45 minutes until pulpy. After that, I kind of went my own way.
This is gonna be a long post, just to give a head's up, but I'm taking my beer making process from start to finish. Forgive the utilitarian name of this recipe. I don't have a snazzy title for it, okay?
The Recipe: Extra-Hoppy Mr. Beer Pale Ale with Wild Rice (A Zhuzh'd-Up Version of Mr. Beer's Pale Ale Extract)
For this beer making experiment - and I use the term "experiment" in the most literal sense - you will need the following, unless you already know how to make beer from scratch, in which case prepare to be amused:
* Mr. Beer Premium kit, which includes the following:
1. a fermenter - the container in which your beer will become, well, beer - with notched lid - for allowing carbon dioxide to escape during the fermenting process - and spout for dispensing into...
2. eight quart-sized plastic bottles with screw on lids - because everyone drinks whole quarts of beer at once. Most homebrewing sites, as well as the homebrew store staff, recommended - and sell - the regular sized bottles, along with bottle caps and a bottle capper. The next time I make beer I will likely use this method instead.
* "booster" - I'm still not quite sure what this is, except that it "adds alcohol [about 1.3% ABV, or Alcohol By Volume] and body" to the beer. I'm not sure if homebrew stores sell this stuff, and there is even extensive discussion on Mr. Beer message boards about whether the stuff is at all necessary. I used it. Why tempt fate the first time around?
* brewing yeast - this you certainly need, or you're going to have something that ain't beer a few weeks from now. This gets added after the boiling process, natch.
* sanitizing powder (Mr. Beer comes with its own, though homebrewers have many other options for sanitizing your fermenter and utensils. It is vital that you sanitize - and this isn't the same thing as "clean" - anything that comes in contact with your beer, because otherwise odd flavors will be introduced, and you don't want to drink deliciously nasty beer after letting it ferment for a month.
* Mr. Beer West Coast Pale Ale malt extract - this one came with the kit. They sell others too. The Brewer's Best also sells extracts - like the deluxe cake mixes to scratch baking - from DuClaw's, if you want to make all of their beers at home. Many homebrewers prefer to do it all from scratch, and most homebrewing stores have all the ingredients and supplies you will need in order to do that.
* directions [Mr. Beer 2011] - these will be indispensable if you've never done this before. They definitely streamline production - this set of directions are pretty much useful only if you're using Mr. Beer.
While at the MD Homebrewer's store, I also picked up the following:
* priming sugar (Mr. Beer's instructions, which gently ease you into the wide wonderful world of home brewing, suggests plain old table sugar, but the beer store had this stuff and I figured it would work better. You put this in the bottle just before bottling, which after a few weeks will lead to that carbonization you want and need in a good beer)
* another sanitizing medium - in this case Iodophor (about $4 or $5), which was recommended at the homebrew store. There are several options for this. I figured that Iodophor would need to be rinsed off, but websites I read suggested otherwise, since such a small amount of the iodine-based sanitizer is needed to actually sanitize your equipment. I used this on the bottles and tools I used for bottling.
* several gallons of bottled water (only for taste purposes - a few dollars for two large bottles)
* hops (in this case Chinook hops (about $1.50 to $2), a piney smelling and tasting hop from Hopunion. These are in "dissolvable" pellets though MD Homebrewers, as well as most homebrewers (I assume) sell the actual hops as well. I added these during the boiling process, to make my beer hoppier. Many websites suggest the different ways to hop up brew kit beer, such as this post at the Absolute Homebrew website).
* 1 cup of wild rice (my idea of an "adjunct", or extra ingredients added to any beer in order to give it unique or complex flavors)
In addition, you should also gather and sterilize the following equipment, which I found helpful throughout the entire brewing process (told you this was a long post):
* large non-wooden mixing spoon - preferably a metal one - for stirring the yeast into the liquid, or wort, in order to make it beer
* can opener if you're using an extract from a can
* the plate you rest your utensils on (yes, Mr. Beer suggested that. Again, not a bad idea - you do need a sterile surface and the countertop ain't gonna cut it)
* measuring cups and spoons (a cup measure for during the brewing process, and a tablespoon, half tablespoon, teaspoon and half teaspoon for the bottling process)
* if using a cloth mesh bag for, say, boiling this wild rice, sterilize that too - it can't hurt
* mesh strainer, which I found very useful when pouring the wort into the fermenter, in order to keep all the extra hop mush from entering too)
* canning funnel, which makes it a lot easier to pour the wort into the Mr. Beer fermenter
* small funnel for bottling, specifically for more easily putting sugar into the bottles
And now my first ever attempt at home brewing. Ahem.
According to Mr. Beer's directions, screw in the tap into your fermenter and situate it over the sink.
Pour water - this time from a tap will do - into your fermenter. They recommend filling it up to around the 2 quart line.
Add your sanitizer to the water.
Stir the sanitizer around, or not, depending on the directions that came with it.
Put the lid on the Mr. Beer fermenter, and slosh it all around, over the sink of course, to make sure the whole interior of the fermenter is sanitized.
Throw in anything else you plan to sanitize that will fit (anything that won't fit should be sanitized in some sort of vessel with a larger opening).
Also sanitize a plate or other surface to lay your now-sanitized utensils on.
Here's where we deviate from the Mr. Beer kit. Boil a cup of wild rice until pulpy, about 45 minutes. You will add this later in a disposable mesh sock, available for about a dollar at any homebrewing store.
Run your extract under hot water to loosen it up before opening.
Now boil a few quarts of water (exact measurements in the Mr. Beer kit directions).
Add your booster...
...and stir until dissolved.
As it begins to boil, add the extract. Boil about half an hour. If made from scratch, this would be what brewers refer to as the mash (so no extract, no mash?). The mash, according to Beer Craft, is where the grains steep in water for an hour - like a "big grain tea - a kind of proto-beer" [Bostwick and Rymill 2011:33], typically in a mesh bag that you rinse off and dump into your wort when done (this is the "sparge" step).
Another deviation: after an hour of boiling, I added the hop pellets and continued to boil for about half an hour. I made the mistake of only adding them at one point: the beginning. Beer Craft and homebrewers suggest adding hops at three different points during the boiling process: at the beginning, for bittering, about 40 minutes into the boil, for flavoring, and at the end as you turn off the heat, for aroma [Bostwick and Rymill 2011:37]. This very likely explains why my beer turned out not terribly hoppy (I was so excited about this I didn't read this step, okay? Don't judge me!). I will be doing this the next time I homebrew.
You will put the wild rice in your mesh sock once it starts looking like this.
Place the sock in your boiling wort - I added it about the same time as the hops.
Total boiling wort time: about an hour.
While your wort is on the stove, empty the bottled water into your fermenter until it reaches about the 8.5 quart mark.
Position your funnel and strainer.
Oh yeah, you can dispose of the wild rice now. Make sure your wort cools down a bit before adding to your fermenter, and for God's sake do not add your yeast to hot wort. All you'll do is get beer-flavored tea with dead yeast in it. And nobody wants that.
Using only sterilized utensils, strain the wort into the fermenter.
Stir the wort and water wigorously, er, vigorously for a few minutes.
Next, add the brewing yeast...
...and again, stir vigorously for a few minutes, with your sterilized non-wooden spoon. Most fermenters don't come shaped like this one, but look like a jug, and you will need a special airlock for letting carbon dioxide out - again, available through your local homebrewer.
Screw on the notched lid and don't open the damn fermenter.
What all you just read was the hard part. Now leave your beer sitting for about two weeks - I left mine for exactly three weeks.
Once you are ready to bottle away, gather your bottles and caps (and capper if you're using actual glass bottles).
Wash out your bottles.
Like so.
Next take your santizer - this time the Iodophor...
...which I used about two capfuls to a gallon of water. This is seemingly, again, a small enough amount that you don't need to rinse off your materials afterward.
Sanitize each bottle with the solution.
And sanitize whatever utensils you will use in the bottling process.
Now comes the time to bottle. If using the Mr. Beer kit, set up your fermenter for easy bottling.
You will need to add a teaspoon plus a half tablespoon - that is, 2 1/2 teaspoons - of priming sugar to each bottle. I tried to just add it directly to the bottle at first.
After getting the floor, the bottle and my hands covered in sugar, I sanitized a regular kitchen funnel and used that. It was much easier.
Dispense enough beer to fill each bottle about 2/3 of the way.
Cap (duh) and turn up and down several times to mix the sugar into the beer.
Again, let sit for at least a week, preferably two.
After a week, I got this.
How did my first attempt at homebrewing go? Well, the beer wasn't as strongly hoppy as I had hoped (again, the mistake of hopping the beer only once instead of thrice), but my guess is that it was still hoppier than it would've been. I haven't tried non-zhuzh'd up Mr. Beer pale ale so I have nothing to compare it to. I can say that I hardly tasted the wild rice, even though I was indeed searching for it. By itself it is a pleasant beer, one that I won't mind drinking more of. In the future, however, I plan to make good work out of my Beer Craft book. As for future beer recipes: one thing I wanted to do was to dry hop this beer. The folks at the homebrew store recommended that I not do so with the Mr. Beer kit, but with future attempts with more complex brewing systems I indeed plan to attempt this.
Splendid Table. "Episode 487: The Japanese Grill", July 30, 2011, Segment 21:46 – 28:35 (William Bostwick talks home brewing). Copyright 2011, 2012 American Public Media, All rights reserved.
Wisconsin Milk Marketing Board. "Cookin' Up Wisconsin Curds". Wisconsin Milk Marketing Board, 2012. Copyright 2012, All rights reserved. Wisconsin Milk Marketing Board. "History of Wisconsin Cheese". Wisconsin Milk Marketing Board, 2012. Copyright 2012, All rights reserved. Some information also obtained from Wikipedia's "Wisconsin" page and other pages, and the Food Timeline State Foods link to "Wisconsin".
I'm just a guy from Baltimore who likes to try out old and new restaurants and recipes. That's all you really need to know. Hopefully you'll enjoy reading about my escapades as much as I enjoyed being on them! If you would like to contact me, please use the Comments feature - it's so fast! You can also click here if you have Outlook on your computer. Thanks!
Note: anonymous comments are very welcome, as are negative comments. Anonymous negative comments, however, will be deleted with gleeful abandon (here's why). If you have a critique about something, back it up with an identity, please. But please note: racist, sexist or otherwise bigoted comments will be rejected whether they are anonymous or not.
ClusterMap - Where ARE You?
Look! The Foodie Blogroll (powered by the Left Over Queen)